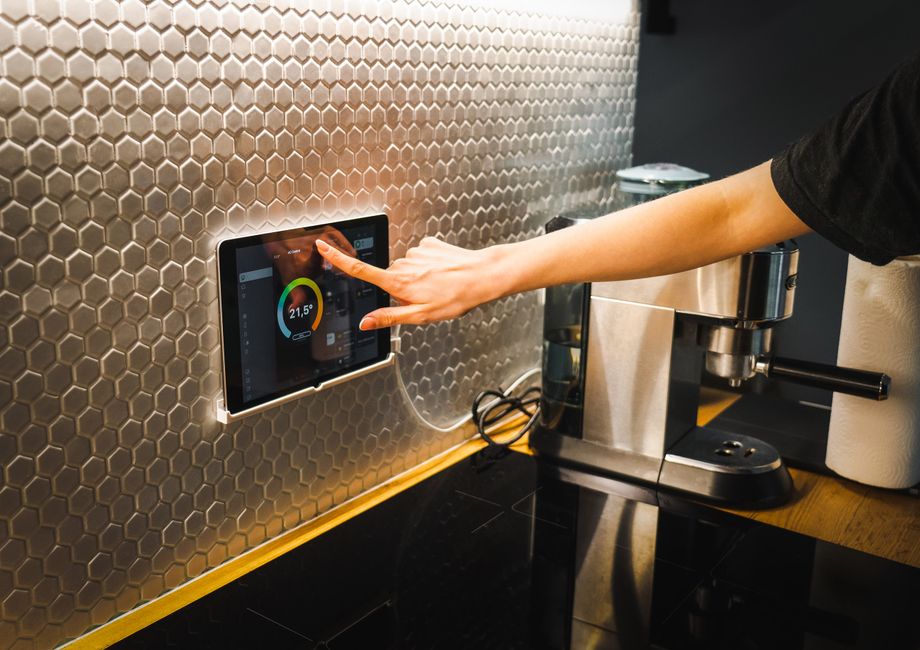
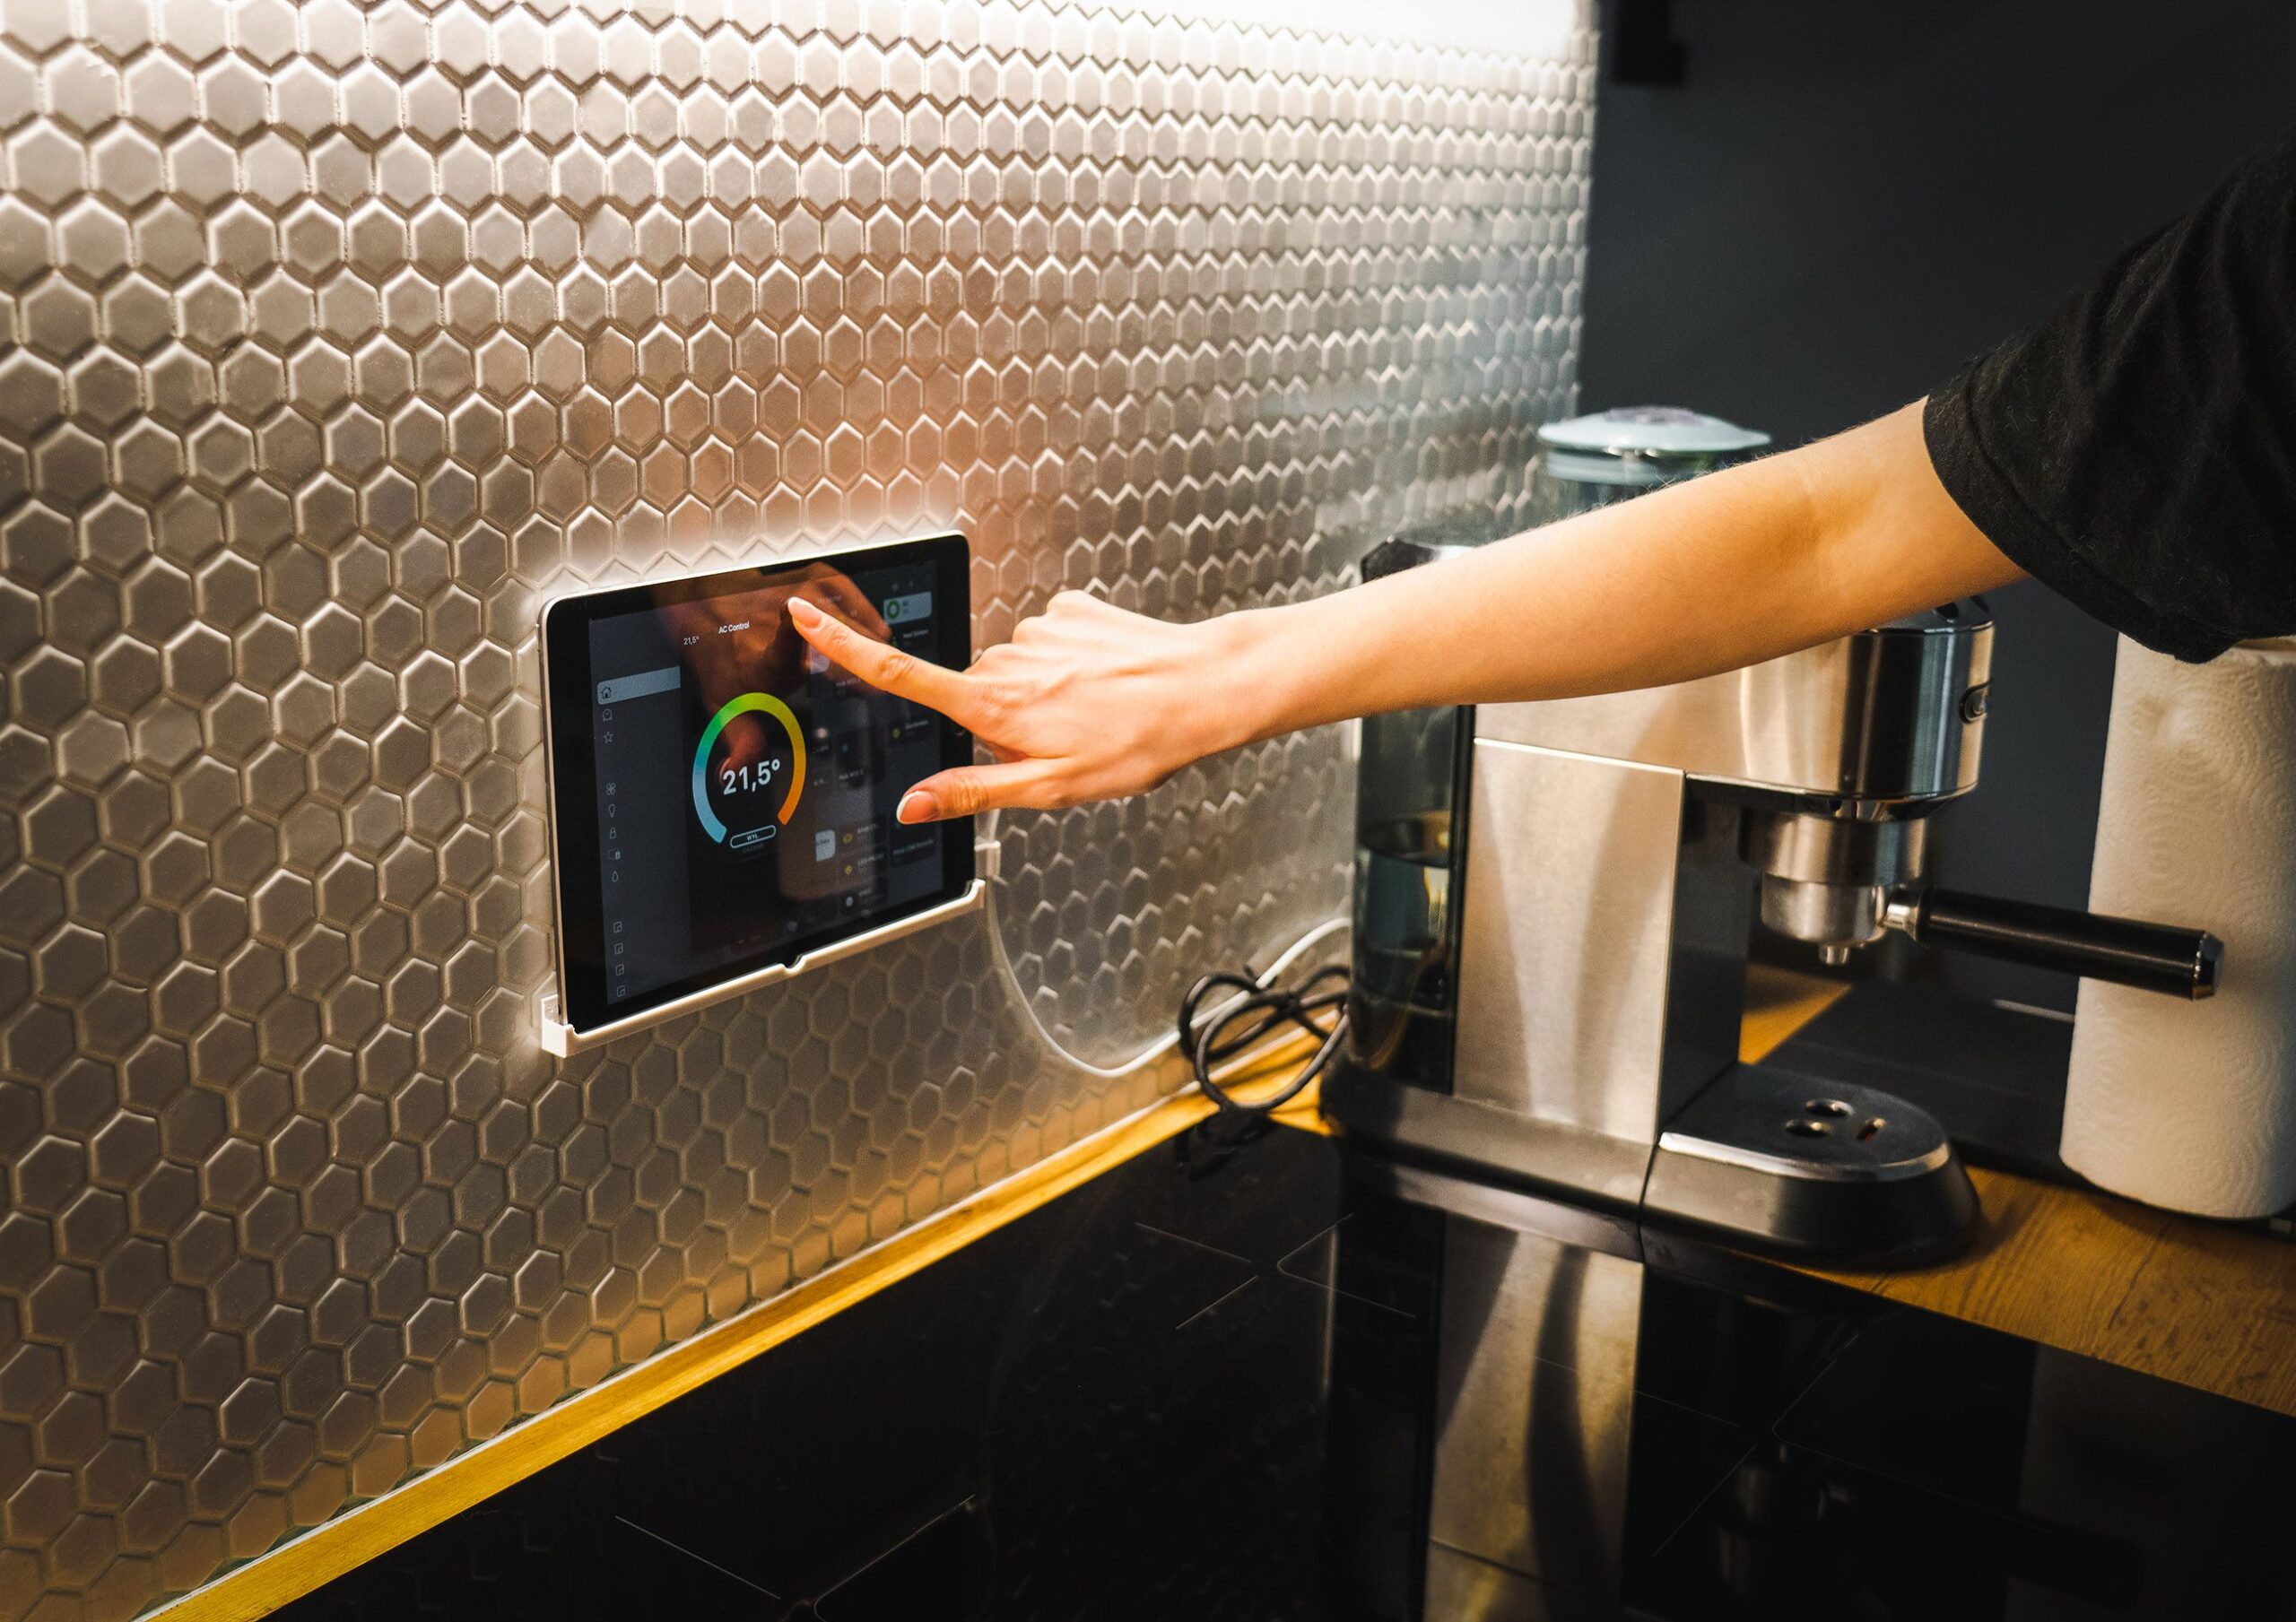
How to Automate Your Entire Home With HomeAssistant: A Comprehensive Guide
HomeAssistant (HA) stands as the premier open-source platform for local home automation, offering unparalleled control, privacy, and flexibility. Unlike proprietary ecosystems (e.g., SmartThings, Alexa-only setups), HA integrates over 2,000 devices, services, and protocols into a single, unified dashboard. This guide provides a step-by-step, technically precise roadmap to achieving full-home automation, from hardware selection to advanced scripting.
Step 1: The Foundation – Hardware and Installation Choices
HA does not run on a simple app; it requires a persistent server. The most recommended path for reliability and performance is a dedicated single-board computer. The Raspberry Pi 4 (4GB or 8GB RAM) is the classic choice, but the ODROID N2+ or Intel NUC offers significantly faster processing for complex automations and camera feeds. For storage, always use a high-endurance SSD via USB 3.0, not a microSD card, which wears out quickly from constant database writes.
The installation method defines your experience. HomeAssistant OS (formerly HassOS) is the gold standard—a full operating system with supervisor, add-ons, and automatic updates. Flash it to your SSD using Raspberry Pi Imager or Balena Etcher. For advanced users, HA Core can be installed via Docker on an existing Linux server, or as a Supervised instance on a generic Debian system. Avoid the Windows Store version; it lacks hardware access for dongles.
Step 2: The First Boot and Onboarding
After booting, access the web interface at homeassistant.local:8123 (or the device’s IP address). The setup wizard will ask for a name, location, and unit system. Location is critical—HA uses it for sunrise/sunset triggers and weather data.
The Integrations discovery page immediately scans your local network for supported devices. Accept discovered items (e.g., Philips Hue hub, TP-Link Kasa plugs, Sonoff devices). For unsupported devices, proceed to the Configuration > Devices & Services > Add Integration. Key integrations to install manually:
- ESPHome: For custom microcontrollers (e.g., temperature sensors, relays).
- MQTT: The universal messaging protocol for DIY devices.
- Zigbee2MQTT: Use a coordinating dongle (e.g., Conbee II, Sonoff ZBDongle-E) to control all Zigbee sensors and bulbs without vendor hubs.
- Local Tuya: Bypass the Tuya cloud for LAN-based control of many Wi-Fi smart devices.
Step 3: Building the Core Automation Logic
Automations in HA are event-driven. Navigate to Configuration > Automations. The UI editor is intuitive, but YAML (in automations.yaml) offers greater precision.
Fundamental Pattern: State Triggers
- Trigger:
stateof entitybinary_sensor.front_door - Condition:
stateofsun.sunisbelow_horizon - Action:
light.hallway_lightturns on.
Advanced Pattern: Time and Toggle
Automate a smart fan speed based on temperature:
alias: "Fan Auto Adjust"
trigger:
  - platform: numeric_state
    entity_id: sensor.living_room_temperature
    above: 24
action:
  - service: climate.set_fan_mode
    target:
      entity_id: climate.livingroom
    data:
      fan_mode: high
Use the Sun integration for circadian lighting: blue-enriched light during the day, warm amber after sunset.
Step 4: Sensors – The Nervous System of Your Home
Bare minimum sensor coverage:
- Motion/Presence: Aqara P1 motion sensors (Zigbee) for room occupancy. For precision, use mmWave sensors like the LD2410 via ESPHome for detecting human stillness.
- Door/Window: Contact sensors on every exterior and interior door (e.g., Aqara, Sonoff).
- Temperature/Humidity: Sensirion SHT4x sensors via ESPHome or Xiaomi Mijia BLE sensors (using Bluetooth integration).
- Leak: Aqara water leak sensors near sinks, water heaters, and the washing machine.
Create a binary sensor group for “any door open” and “all doors closed” to streamline logic.
Step 5: Lighting – Beyond On/Off
Zigbee bulbs (IKEA TRÅDFRI, Philips Hue) paired directly to your coordinator dongle offer local, low-latency control. Automate lights using:
- Occupancy: Turn lights on when motion detected, off after 5 minutes of no motion. Use an
input_boolean.away_modehelper to override at night. - Scene-based: Define
light.turn_onservice calls with specificbrightness_pct,color_temp(in Kelvin, e.g., 6500K for daylight, 2700K for warm), andtransition(e.g., 2 seconds). - Offline handling: If the HA server crashes, Zigbee bulbs paired via a coordinator will continue to work as dumb switches (power-on behavior).
Step 6: Climate Control – Intelligent HVAC Management
Integrate a smart thermostat (Nest, Ecobee, or a generic Zigbee thermostat). Create automations to:
- Setback: Lower temperature to 16°C when
binary_sensor.home_awayisaway. - Window open: If any window contact sensor opens and the HVAC is running, immediately shut off the HVAC system.
- Humidity penalty: If
sensor.kitchen_humidityexceeds 70%, run the bathroom exhaust fan for 10 minutes.
Use the Generic Thermostat integration with a temperature sensor and relay (e.g., Sonoff THR320) to control baseboard heaters or window AC units.
Step 7: Security and Safety Systems
HA replaces a dedicated alarm panel. Use the Manual Alarm Control Panel integration. Define states: armed_away, armed_home, disarmed. Automations:
- Entry delay: When a door opens while alarm is
armed_away, delay alarming for 30 seconds. Play a TTS (Text-to-Speech) message on Google Nest speakers: “Alarm will sound in 30 seconds. Disarm now.” - Siren: Connect a 12V siren to a Sonoff Basic R3 relay and trigger on alarm.
- Cameras: Use RTSP streams from ONVIF-compatible cameras. The Frigate add-on (NVR with AI object detection) can trigger automations only for people or vehicles, ignoring leaves or animals.
Step 8: Voice Control – Fully Local with Assist
While Alexa and Google can be integrated, the Assist pipeline in HA 2023+ provides fully offline voice control. Install Wyoming add-ons for speech-to-text (e.g., Whisper) and text-to-speech (e.g., Piper). Flash an ESP32-S3 with ESP32-S3-Box firmware or use a cheap USB microphone on a Raspberry Pi. Voice commands are defined in Configuration > Voice Assistants > Assist. Example: “Turn on the kitchen lights” maps to light.turn_on for entity light.kitchen_strip.
Step 9: Battery-Saving and Maintenance Automation
- Low battery alerts: Create a template sensor that checks all
device_tracker,binary_sensor, andsensorentities for theirbattery_levelattribute. If below 20%, send a notification to your phone. - Health monitoring: Use the System Monitor integration to track CPU temperature and RAM usage. Automate a restart if
sensor.processor_temperatureexceeds 70°C. - Wi-Fi reboot: If a Wi-Fi plug becomes unavailable for 15 minutes, toggle a smart switch to power-cycle its breaker.
Step 10: Advanced Roles – Scripts, Templates, and Blueprints
Scripts: Combine multiple actions. Example script.quiet_night:
light.house→brightness: 10,color_temp: 2500media_player.bedroom→ volume 5%cover.bedroom_blind→ position 100%
Templates: Use Jinja2 for dynamic values. A template sensor for “outside temperature feels like” can combine sensor.outdoor_temp and sensor.wind_speed.
Blueprints: Community-shared automation templates. Import from the Blueprints Exchange (GitHub) for complex setups like “presence-based thermostat control” or “vacuum room-by-room mapping.”
Step 11: Integrate Smart Appliances Beyond Wi-Fi
- Irrigation: Use a RainMachine or ESP32-powered relay controlled by
weather.precipitation_probabilitythresholds. - Lawn mower: Husqvarna Automower integration for scheduling and boundary alerts.
- Garage door: Ratgdo (for modern openers) or a generic relay with a magnetic sensor for state feedback. Automate to close at sunset if open.
- Energy monitoring: Use SENSE or custom CT clamp sensors (e.g., Shelly EM) to track solar production, EV charging, and appliance usage. Create automations to turn off high-draw devices when solar surplus is low.
Step 12: The Automation Dashboard – Lovelace Configuration
The default UI is functional, but custom dashboards transform the experience. In Overview, enter edit mode:
- Mushroom Cards: Clean, modern UI for lights, covers, and binary sensors.
- Vertical Stack: Group entities by room.
- Auto Entities: Dynamically list all entities of a certain domain (e.g., all
lockentities). - History: Graph sensor data over 48 hours.
Use Conditional Cards: Show a “Watering Schedule” card only between May and September. Use Picture Elements to overlay sensor status on a floor plan image of your home.
Step 13: Failure Modes – Handling When HA Is Down
Power or network failures must not cripple basic home functions.
- Zigbee Coordinator: Conbee II retains mesh network state on power loss; bulbs flash their last state.
- Critical plugs: Use Z-Wave or Zigbee plugs for essential loads (fridge, network equipment) so they survive a HA outage.
- Multigang switches: Program a physical button sequence to trigger a cloud fallback: If HA unreachable for 60 seconds, an ESP32 forces a relay to direct connection via Tuya IoT Core.
- Backup: Install the Google Drive Backup add-on or Samba Backup to store
config/backupson a network share. Automate daily backups.
Step 14: Scaling – Multi-Protocol Routers and Remote Access
- Matter: Adopt Matter-compatible bridges (e.g., Apple HomePod) for Thread devices—but always use local polling, not cloud.
- Zigbee vs. Z-Wave: Z-Wave offers lower interference and stronger distance in dense walls; Zigbee excels in cost and device variety. Run both concurrently with a Hubitat or HomeSeer Z-Wave stick.
- Remote Access: Nabu Casa subscription provides secure cloud access (funds HA development) and Alexa/Google integrations. For self-hosted, use Cloudflare Tunnel or Tailscale to expose HA without opening firewall ports. Never expose port 8123 directly to the internet.
Step 15: Performance Tuning for 100+ Devices
A slow HA instance ruins usability.
- SQLite: For databases under 50MB, the default Recorder works. Larger databases require switching to MariaDB or PostgreSQL (via add-ons) for faster query performance.
- Recorder filter: In
configuration.yaml, exclude unnecessary history states:recorder: exclude: entities: - sensor.uptime - sensor.last_boot - History purge: Set
purge_keep_days: 7to prevent Logbook bloat. - Device grouping: Use Area and Floor tags so HA queries by domain subset rather than all entities.