How to Set Up Your Google Home: A Step-by-Step Guide
Step 1: Unboxing and Hardware Preparation
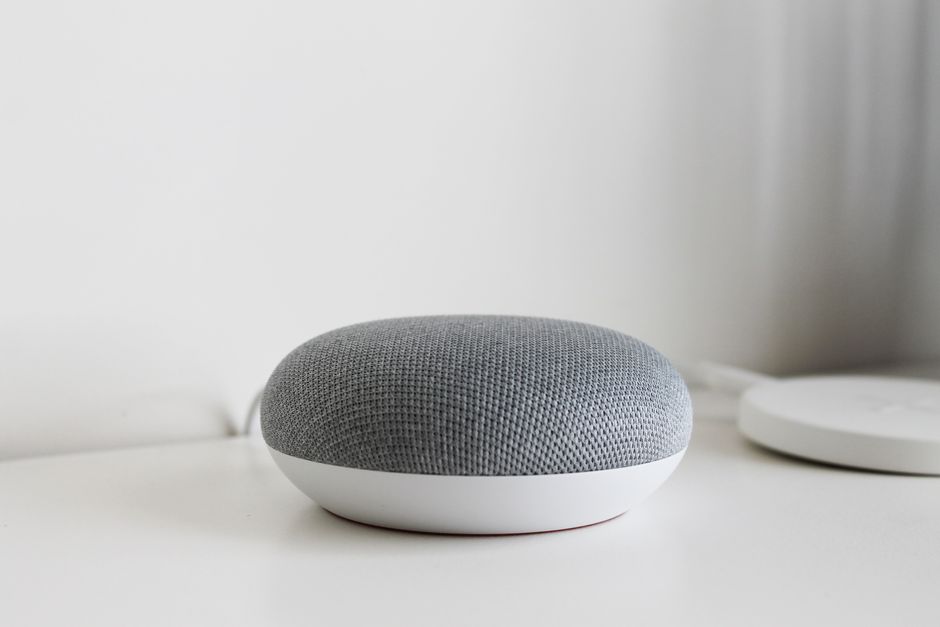
Begin by unboxing your Google Home device. Inside the box, you will find the main speaker unit, a proprietary power cable (with an embedded plug, often a barrel connector), and a quick-start guide. Place the device on a stable, flat surface in a central location within your home. Ensure it is at least a few feet away from walls, other electronics (like televisions or routers), and metal objects to avoid interference with its built-in microphones and Wi-Fi connectivity. Plug the power cable into the device and then into a working electrical outlet. The device will automatically power on; you will see a series of LED lights on top of the unit (usually a multi-colored ring) indicating it is booting up. Wait for the lights to settle into a pulsing white or yellow pattern, which signals it is ready for setup.
Step 2: Download the Google Home App
The Google Home device is configured exclusively through the Google Home app, available for both Android and iOS. On your smartphone or tablet, open your respective app store (Google Play Store or Apple App Store) and search for “Google Home.” Download and install the official app developed by Google LLC. Once installed, open the app. You will be prompted to sign in to your Google account—the same account you use for Gmail, YouTube, or Google Calendar. If you do not have one, create a free Google account before proceeding. After signing in, grant the app necessary permissions, including location access (used to detect nearby devices and Wi-Fi networks) and notification access (for alerts and reminders).
Step 3: Discover and Pair Your Device
With the Google Home app open and your phone’s Bluetooth enabled, the app should automatically begin searching for nearby devices. If your Google Home is plugged in and ready, the app will display a prompt like “Set up nearby device” or “Google Home found.” Tap Set up. If the device does not appear automatically, tap the Add icon (a plus sign “+”) in the upper left corner of the app’s home screen, then select Set up device > New device. Choose your home (or create a new home if this is your first device), and the app will scan for the Google Home. A four-digit code will appear on your phone’s screen; verify that this code matches the code displayed on your Google Home’s LED ring (if applicable) or on the bottom of the device, then tap Yes to confirm pairing.
Step 4: Connect to Wi-Fi Network
The Google Home must be connected to a stable 2.4 GHz or 5 GHz Wi-Fi network. After device discovery, the app will prompt you to select your Wi-Fi network from a list of available networks. Enter your Wi-Fi password carefully—case-sensitive and with no trailing spaces. If your network uses a captive portal (common in hotels or public networks), you will need to complete authentication through the app, but a standard home network is preferred. The device will then attempt to establish the connection, which may take 60 to 90 seconds. A successful connection is indicated by a chime from the speaker and a solid white light on the LED ring. If the connection fails, double-check your password, ensure your router is within range, and consider restarting both your router and the Google Home device.
Step 5: Voice Match and Personalization
Once connected, the app will ask if you want to enable Voice Match. This feature allows Google Home to recognize different voices in your household and provide personalized responses—such as calendar events, commute times, or music preferences—based on who is speaking. To set this up, tap Next and follow the on-screen instructions to train the device. You will be asked to say “Hey Google” and “OK Google” twice, with variations in your voice pitch and pace. Repeat the process for each household member who uses the device (they must also sign in to their own Google account on the app). If you skip this step, the device will operate in default guest mode, offering non-personalized answers.
Step 6: Assign a Room and Device Name
The app will ask you to assign the Google Home a physical room location (e.g., “Living Room,” “Kitchen,” “Bedroom”). This is crucial for multi-device setups, as it enables zone-specific commands like “Turn off the lights in the living room.” Choose an existing room from the list or create a custom label. You can also rename the device itself—for example, “Main Speaker” or “Upstairs Hub.” This helps when issuing commands to specific speakers in a multi-room audio setup. The name should be distinct and easy to pronounce, as you will use it to address the device directly (though “Hey Google” works universally regardless of name).
Step 7: Set Up Music and Video Services
Google Home supports a wide range of streaming services. In the app, navigate to Settings (gear icon) > Music & podcasts or Videos & photos. Here, you can link your preferred services (e.g., Spotify, YouTube Music, Pandora, Netflix, Disney+). For each service, tap Link service and log in with your existing account credentials. You may also set a default music service; if you do not specify one, Google will use YouTube Music (or Google Play Music, depending on your region). For video streaming, you will need a compatible device like a Chromecast or a smart TV, as the Google Home itself cannot display video—it acts as a voice remote to cast content to your screen.
Step 8: Configure Smart Home Devices
If you own smart home devices (lights, thermostats, plugs, locks), you can control them through Google Home. Tap the Devices icon in the app’s bottom menu, then the Add icon. Select Works with Google to browse hundreds of compatible brands (e.g., Philips Hue, TP-Link Kasa, Nest, August). Tap your brand, sign in to your third-party account, and authorize the link. The app will automatically sync your devices and assign them to the rooms you defined earlier. You can now use voice commands like “Hey Google, turn on the kitchen lights” or “Set the thermostat to 72 degrees.” For advanced automation, create Routines under the Routines tab—for example, a “Good morning” routine that turns on lights, reads the weather, and starts your coffee maker.
Step 9: Set Up Default Address and Payment
For location-based services (e.g., “What’s the nearest coffee shop?” or traffic updates), you must set a home address. In the app, go to Settings > Your info > Addresses and enter your home and work addresses. Additionally, if you plan to order food, pay bills, or make purchases using Google Assistant, you need to set up a payment method. Navigate to Settings > Payments (or Google Pay in the app) and add a credit or debit card. You can also activate Purchase confirmation to require a spoken PIN before transactions go through—a key security measure. Without these settings, the device will respond with “I can’t do that yet” for location and payment requests.
Step 10: Calibrate Audio and Adjust Volume
Google Home has a physical touch sensor on top of the device: tap the center to play/pause music, and swipe clockwise or counterclockwise to adjust volume. You can also use voice commands (“Hey Google, set volume to 70%” or “Turn it down”). For audio calibration, go to the app’s Device settings (select your Google Home) and find Equalizer settings. Here, you can adjust bass, treble, and mid-range frequencies to suit your room acoustics. If you experience echo or feedback during calls, enable Ambient IQ or Home Theater Mode (if available) to automatically optimize sound. For multi-room audio, create speaker groups (e.g., “Whole House”) under Settings > Audio groups, allowing you to play synchronized music across multiple Google Home devices.
Step 11: Test Voice Commands and Troubleshoot
Perform a series of basic voice tests to ensure everything works. Say “Hey Google, what’s the weather?”; “Set an alarm for 7 AM”; “Play relaxing music on Spotify.” If the device does not respond, check that the microphone mute button (on the back of the device) is not active—look for a solid orange LED ring, which indicates mute. If you encounter persistent issues, restart the device by unplugging it for 10 seconds. In the app, navigate to Settings > Device information > Reboot. For Wi-Fi problems, check your router’s admin page for interference or bandwidth limits. Google Home’s diagnostic tools can be accessed by saying “Hey Google, run a network check.” As a final step, review your device’s firmware: the app will automatically prompt you for updates, but you can manually check under Settings > About > Software update.
Step 12: Explore Advanced Features and Privacy Settings
Google Home offers several advanced features to enhance usability. Continued Conversation allows the device to listen for follow-up commands for 8 seconds after processing your initial request—enable it under Settings > General. Night Mode automatically lowers volume and dims the LED ring during set hours. Broadcast lets you send voice messages to other Google Home devices in your home (e.g., “Broadcast: dinner is ready”). For privacy, access Activity controls in the app to delete voice recordings or adjust how long Google stores your data. You can also disable Web & App Activity to prevent Google from saving your voice queries. Finally, set up a Guest mode under Settings > Guest mode, which allows visitors to control the device without connecting to your Wi-Fi network, using a temporary PIN code broadcast audibly by the device.