What is ESPHome and Why It Matters
ESPHome is an open-source framework that transforms ESP32 and ESP8266 microcontrollers into intelligent, Wi-Fi-connected smart home devices. Developed by Otto Winter and maintained by the community, ESPHome integrates seamlessly with Home Assistant, offering a YAML-based configuration system that eliminates the need for complex C++ programming. Unlike proprietary smart home solutions, ESPHome gives you full control over your hardware, data privacy, and customization. The framework automatically generates firmware, handles Over-The-Air (OTA) updates, and provides a unified dashboard for monitoring sensors, switches, lights, and more. With over 10,000 GitHub stars and active community support, ESPHome has become the go-to solution for DIY smart home enthusiasts seeking reliability and flexibility.
Hardware Requirements: Choosing the Right Board
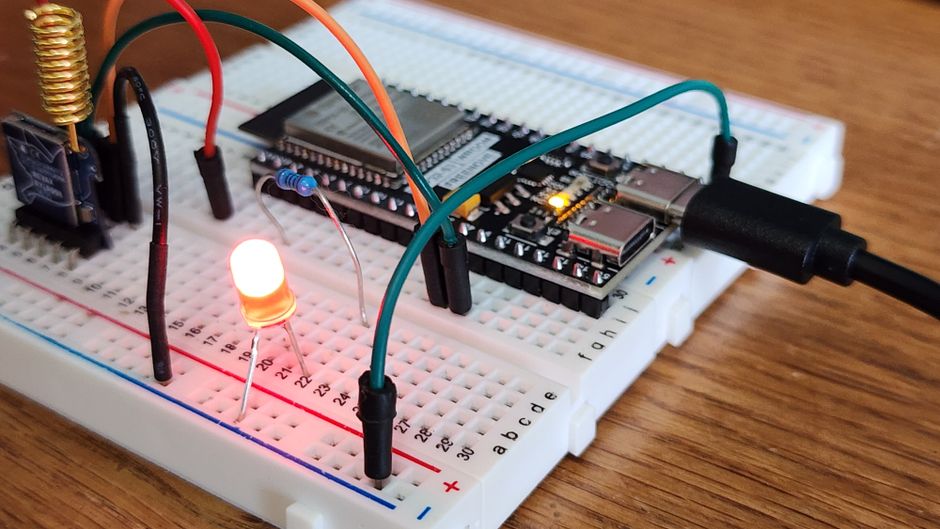
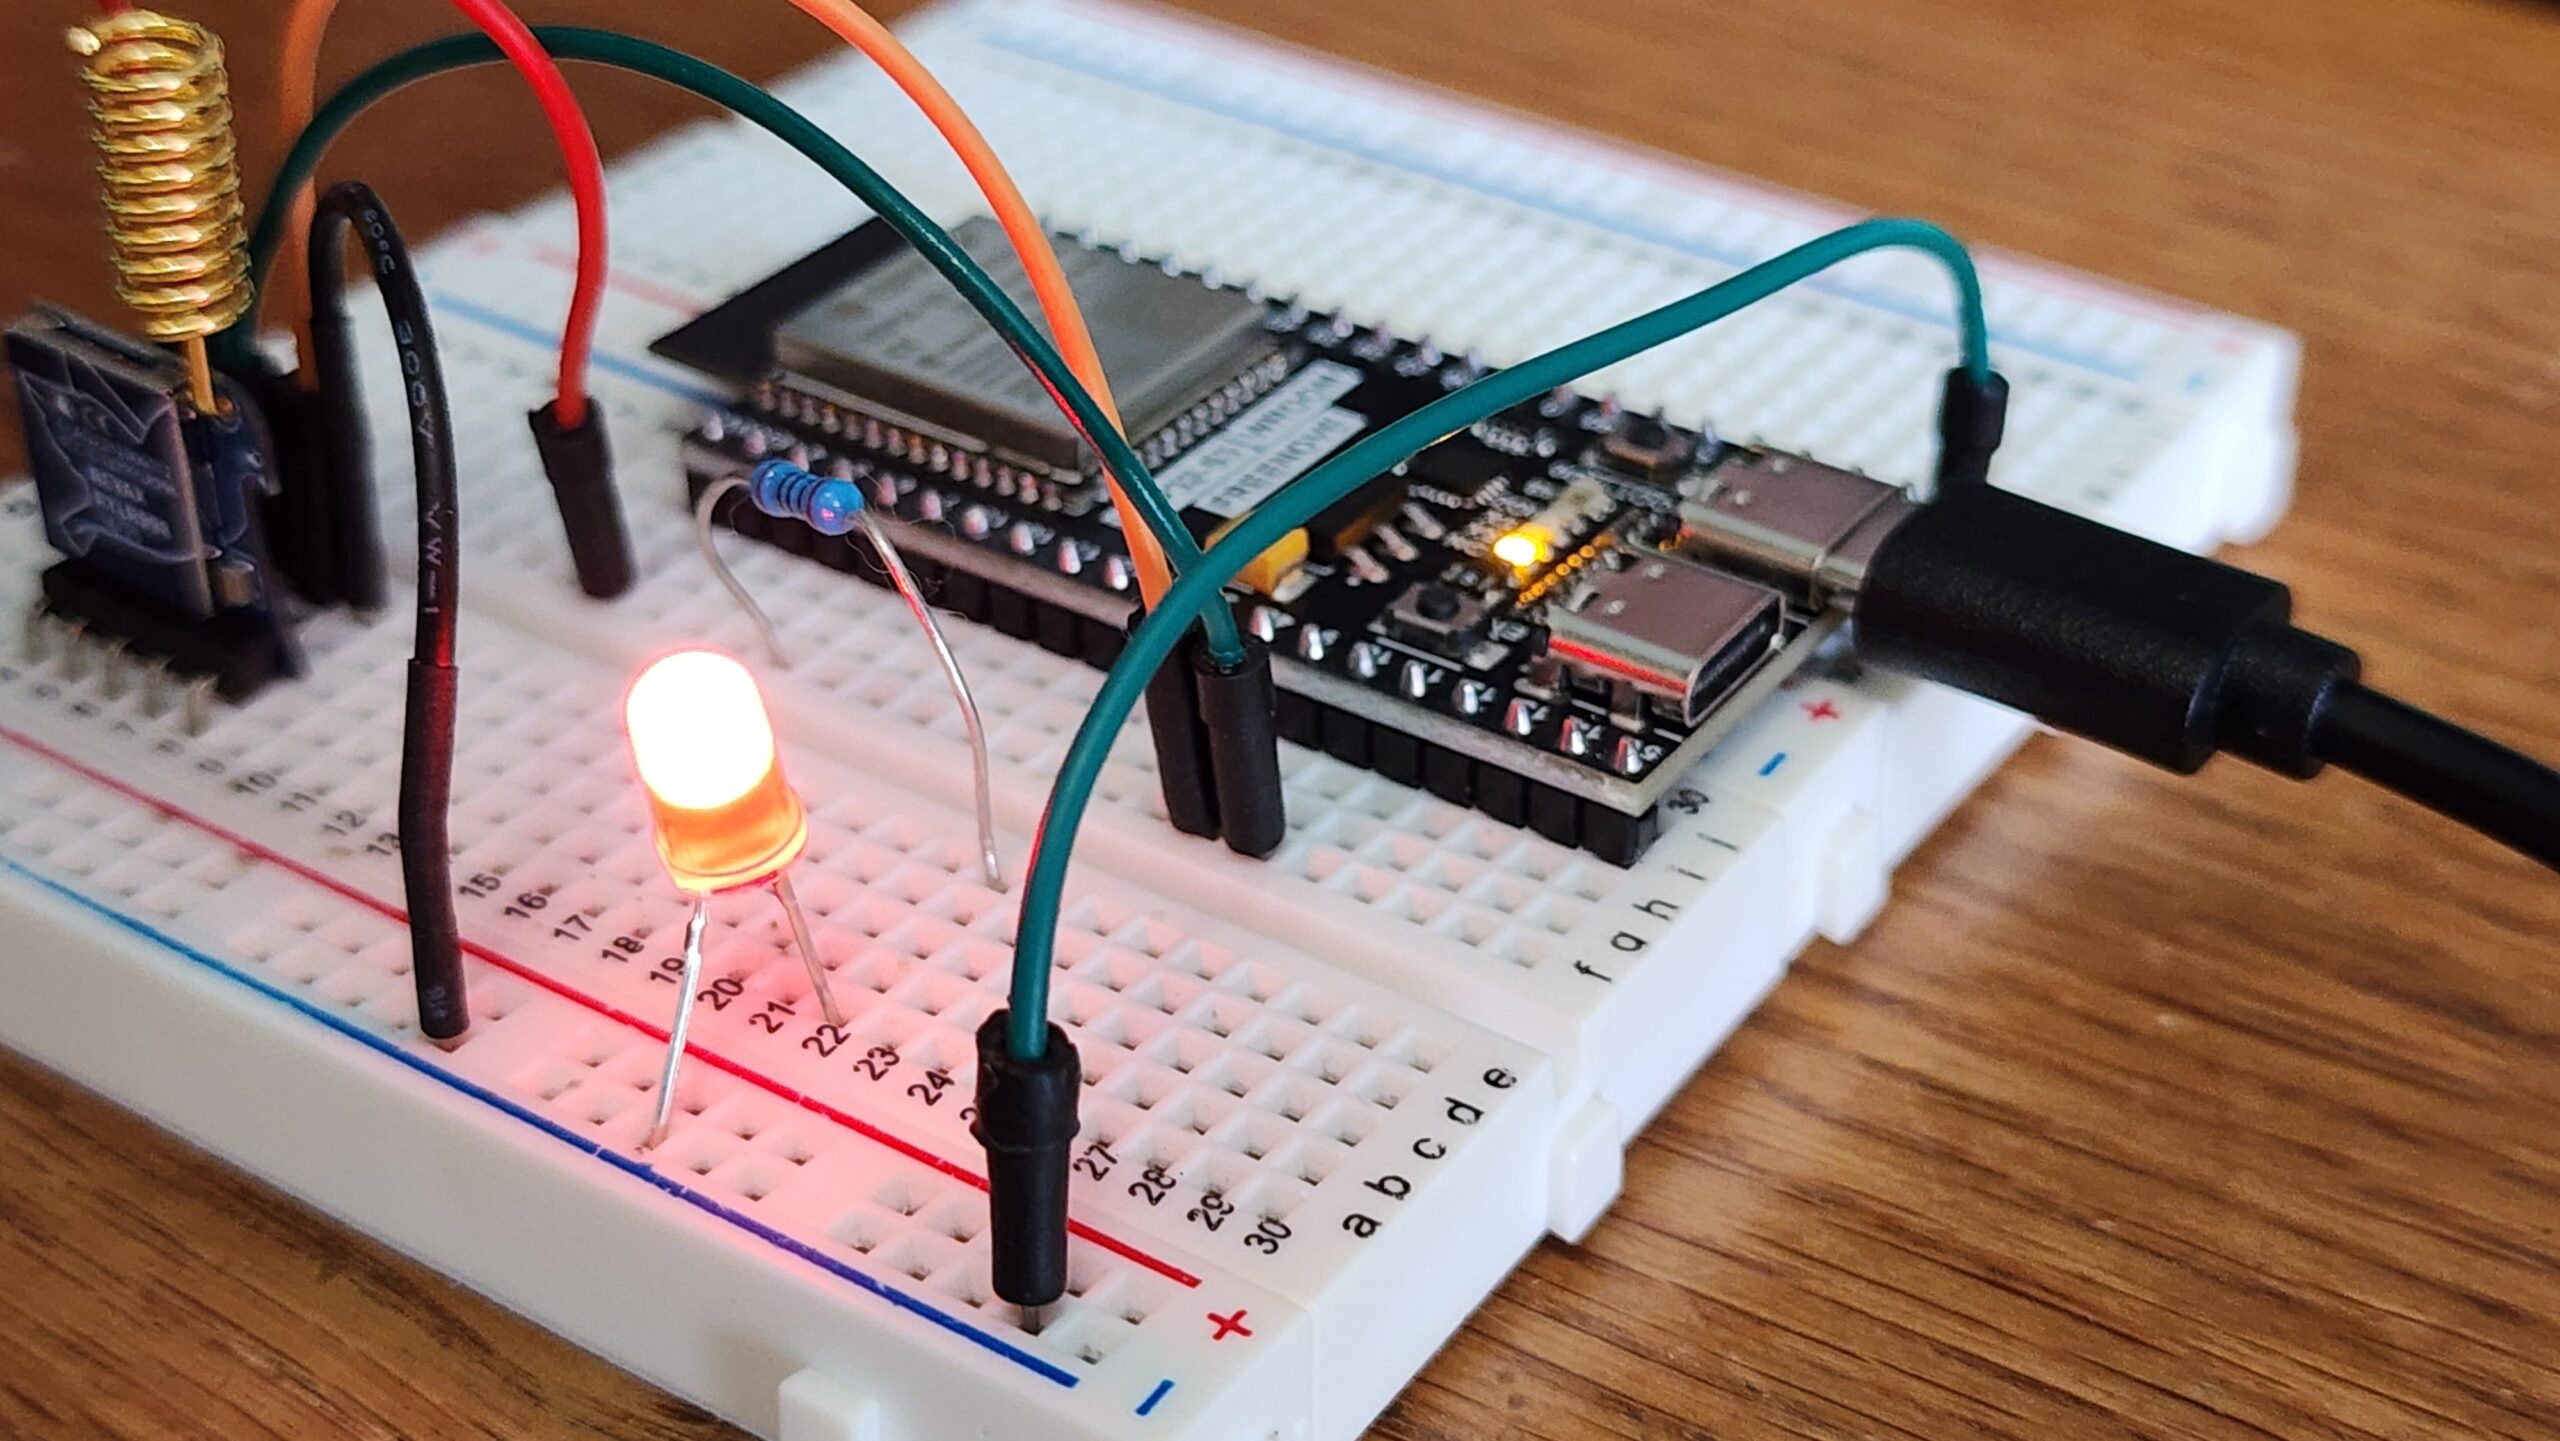
The ESP32 and ESP8266 families are the two primary platforms for ESPHome. The ESP8266 (e.g., NodeMCU v3, Wemos D1 Mini) is cost-effective, consumes less power, and is ideal for simple sensors and switches. The ESP32 (e.g., DevKit v1, ESP32-C3) offers Bluetooth, dual-core processing, more GPIO pins, and additional RAM, making it suitable for complex automation, audio, or camera projects. For beginners, the Wemos D1 Mini (ESP8266) or the ESP32 DevKit v1 are excellent starting points due to their low cost ($3–$8) and extensive documentation. You will also need a USB-to-microUSB or USB-C cable for initial flashing. For sensors, consider the DHT22 (temperature/humidity), HC-SR501 (PIR motion), BH1750 (light intensity), or the ubiquitous DS18B20 (temperature). A breadboard, jumper wires, and a 5V power supply will complete your starter kit. Always verify voltage requirements—most ESP boards operate at 3.3V logic, so 5V sensors may need level shifters.
Installing ESPHome: Two Primary Methods
Method 1: ESPHome Dashboard (Recommended for Beginners)
The ESPHome Dashboard runs as a web interface within Home Assistant or as a standalone Docker container. If you already run Home Assistant, install the ESPHome add-on from the Supervisor > Add-on Store. This provides a graphical interface for creating new devices, editing configurations, and viewing logs. For standalone installation, use Docker: docker run -d --name esphome -p 6052:6052 -v "./config:/config" ghcr.io/esphome/esphome. Access the dashboard at http://localhost:6052. This method handles dependency management and firmware compilation automatically.
Method 2: Command-Line Installation
For advanced users, install ESPHome via Python pip: pip install esphome. Create a project directory: mkdir esphome_project && cd esphome_project. Then run esphome wizard to generate a boilerplate configuration. This method offers more control over versioning and integration with external build systems. Use esphome run [device_name].yaml to compile and upload firmware. Note that Python 3.9 or higher is required.
Your First Configuration: The YAML File
ESPHome configurations are written in YAML, a human-readable data serialization format. Create a new file called my_sensor.yaml and start with the minimal skeleton:
esphome:
  name: my-sensor
  platform: ESP32
  board: esp32dev

wifi:
  ssid: "Your_Network_SSID"
  password: "Your_Network_Password"
  # Enable fallback hotspot in case of connection failure
  ap:
    ssid: "My Sensor Fallback Hotspot"
    password: "FallbackPassword123"

logger:
api:
ota:
This configuration does three things: names your device, connects to Wi-Fi, and enables three core components. The logger component outputs debug information to the serial port. The api component allows Home Assistant to communicate with your device via ESPHome’s native API. The ota (Over-The-Air) component enables wireless firmware updates. After saving, compile and upload the firmware via the Dashboard or esphome run my_sensor.yaml. The first compilation may take 3–5 minutes as it downloads toolchains.
Adding Sensors: Real-World Example
To add a DHT22 temperature and humidity sensor, connect the sensor’s VCC to 3.3V, GND to GND, and DATA to GPIO4 (or any free GPIO). Extend your YAML:
sensor:
  - platform: dht
    pin: GPIO4
    model: DHT22
    temperature:
      name: "Living Room Temperature"
      unit_of_measurement: "°C"
      accuracy_decimals: 1
    humidity:
      name: "Living Room Humidity"
      id: living_room_humidity
    update_interval: 60s

binary_sensor:
  - platform: gpio
    pin: GPIO5
    name: "Living Room Window Sensor"
    device_class: window
    filters:
      - delayed_on_off: 100ms
The sensor block defines the DHT22. The update_interval: 60s prevents excessive readings—adjust based on your needs. The binary_sensor block reads a magnetic reed switch on GPIO5; the filters debounce the signal. After uploading, check the ESPHome logs for readings: [13:45:01][D][dht:058]: Got Temperature=22.5°C Humidity=54.3%.
Controlling Outputs: Relays and LEDs
To control a relay (for lights or appliances), add an output and a switch:
output:
  - platform: gpio
    pin: GPIO16
    id: relay_1

switch:
  - platform: output
    name: "Kitchen Light"
    output: relay_1
    icon: "mdi:lightbulb"
    restore_mode: RESTORE_DEFAULT_OFF
The output defines the physical GPIO pin. The switch creates a Home Assistant entity named “Kitchen Light.” The restore_mode ensures the relay returns to the off state after a power outage. For LEDs, use the monochromatic platform with PWM pins (ESP32 supports up to 16 PWM channels). Always use a relay module with an optocoupler for safety when switching AC mains.
Connecting to Home Assistant
ESPHome devices are automatically discovered by Home Assistant if both are on the same network and the API component is enabled. In Home Assistant, go to Settings > Devices & Services > Add Integration > ESPHome. Enter the device’s IP address or select it from the discovery list. Home Assistant will retrieve all sensors, switches, and binary sensors defined in your YAML. Each sensor becomes a separate entity that can be used in automations, dashboards, and scripts. For example, create an automation: “When kitchen temperature exceeds 30°C, turn on the fan relay.” If automatic discovery fails, ensure your firewall allows ports 6053 (ESPHome API) and check that api: is not commented out in your YAML.
Advanced Configurations: Automations and Filters
ESPHome supports onboard automations that run directly on the microcontroller, reducing latency and cloud dependency. Add an automation to turn on a warning LED if humidity drops below 40%:
output:
  - platform: gpio
    pin: GPIO2
    id: warning_led

sensor:
  - platform: dht
    # ... previous DHT config ...
    humidity:
      id: living_room_humidity
      on_value_range:
        - below: 40.0
          then:
            - output.turn_on: warning_led
        - above: 50.0
          then:
            - output.turn_off: warning_led
Filters can smooth sensor noise. For a motion sensor that triggers only once per 2 minutes:
binary_sensor:
  - platform: gpio
    pin: GPIO14
    name: "Hallway Motion"
    filters:
      - delayed_on: 200ms
      - delayed_off: 2s
      - invert:
      - lambda: return !x;  # Optional logic
The delayed_on and delayed_off filters prevent false triggers from electrical noise. For more complex filtering, use the running_average or quantile filters for analog sensors.
Troubleshooting Common Issues
Compilation Errors: Ensure your YAML indentation uses spaces (not tabs) and that all required fields (e.g., platform, pin) are present. Check the ESPHome logs for specific error messages like [E][wifi:342] WiFi.connecting... which indicates incorrect SSID/password. Use the esphome logs [device] command to view real-time output.
Device Not Connecting: Verify the board is powered (LED on), check Wi-Fi signal strength, and confirm the ESP32/ESP8266 supports 2.4 GHz networks only (most do not support 5 GHz). Use a Wi-Fi analyzer app to check channel congestion.
Sensor Reading Invalid: For DHT sensors, readings of NaN often indicate wiring issues or wrong GPIO pins. Add a 10kΩ pull-up resistor between VCC and DATA for single-wire protocols. For I2C sensors (e.g., BH1750), confirm SDA/SCL pins in your YAML match hardware connections.
OTA Failures: If OTA updates fail, reconnect via USB and flash again. Ensure your device has at least 20% free flash space. Use the esphome clean-mqtt command to remove stale credentials.
Security Best Practices
Never expose your ESPHome device directly to the internet. Use a VLAN for IoT devices with firewall rules limiting outbound traffic to only the Home Assistant instance and NTP servers. Enable encryption in your YAML:
api:
  encryption:
    key: "YOUR_ENCRYPTION_KEY"
Generate a key using esphome CLI: esphome generate-key. Store the key securely in Home Assistant’s secrets.yaml. Disable OTA over the internet by not exposing port 8266. For Wi-Fi, use WPA2/3 and consider a separate IoT SSID with MAC address filtering. Regularly update ESPHome firmware via the Dashboard; updates include security patches.
Expanding Your System: ESPHome Beyond Basics
Once comfortable, explore advanced components: climate for thermostat control, light with RGBW LEDs using the neopixelbus platform, or cover for motorized blinds. Use the text_sensor for status messages (e.g., “WiFi RSSI: -45 dBm”). Integrate with external APIs via http_request to pull weather data or trigger webhooks. The ble_client component lets ESP32 communicate with Bluetooth Low Energy devices like Xiaomi temperature sensors. For battery-powered projects, enable deep_sleep with a wake-up timer to extend battery life to months. The ESPHome community offers over 400+ component integrations, from PIR sensors to laser rangefinders—all documented on the official website.
Performance Optimization Tips
Reduce Wi-Fi reconnection latency by setting fast_connect: true under wifi:. For sensors that update infrequently, increase update_interval to 300 seconds to save power and reduce network traffic. Use the internal: true flag for sensors that don’t need to be exposed to Home Assistant (e.g., internal temperature used only for calibration). Compile firmware with esphome compile [file] and use --no-logging to reduce binary size. For ESP8266, avoid using all GPIOs simultaneously due to limited current sourcing. Monitor memory usage with the esphome config command—ESPHome generates efficient C++ code, but complex lambdas can increase flash consumption.